SearchNSave Ads, this program is nothing but a browser add-on. It is designed for promoting some unpopular websites and software. As long as it been installed inside your browser, you are going to have lots of unnecessary troubles. For example, you can see lots of affiliate links displayed on your screen when you use your browser. Those pop-ups can really drive you crazy. Firstly, it shows up on your screen time to time that can not be avoided. Secondly, your browser will be redirected or be pointed to download unfamiliar programs automatically.
Meanwhile, it is no doubt that SearchNSave Ads can easily touch your privacy in your computer. Things like your bank card, credit card, and things like that can be recorded and sent to hackers remotely. Think about what hacker would do with your information.
So, I suggest you to take efficient measures to stop it at the first you find it in your computer. If you are a new hand in computer, I will show you how I remove this SearchNSave Ads step by step below this article. If you are interested, you can spend some more time to read more.
Screen Shot:
You can try to remove all its related things from your computer to clean up SearchNSave Ads.
Instruction:
1, Clean up from your browser.
For Internet Explorer users:
1. Open Internet Explorer, go to ‘Tools’ → ‘Manage Add-ons’ → ‘Toolbars and Extensions’.
2. In the next page, find Browsing Protection and similar entries, and then click ‘Uninstall’.
3. After that, change your start page.

For Mozilla Firefox users:
1. Access Mozilla Firefox, go to ‘Tools’ → ‘Add-ons’ → ‘Extensions’.
2. Look for Browsing Protection and similar unfamiliar items, and then click ‘Uninstall’.
3. Once you remove it, change the start page.

For Google Chrome users:
1. Click on the Chrome menu button on the Google Chrome browser, select ‘Tools’ → ‘Extensions’.
2. Then search for Browsing Protection or similar unwanted extensions and delete them by tapping the Recycle Bin.
3. Remember to change start page.

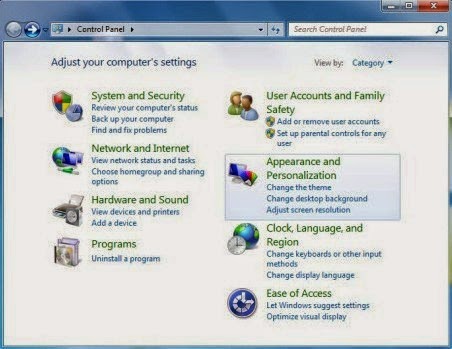
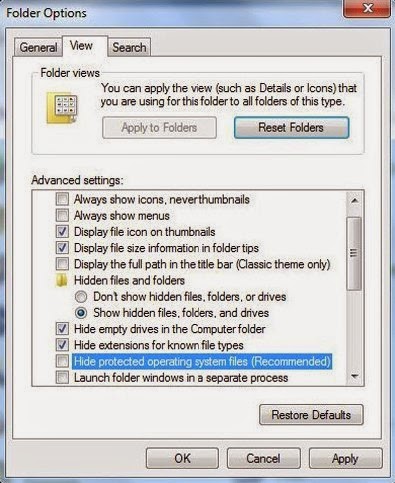
2. Open Control Panel from Start menu and search for Folder Options. When Folder Options window opens, click on its View tab, tick Show hidden files and folders and non-tick Hide protected operating system files (Recommended) and then press OK.
3. The associated files to be removed in folders on Local Disk (note: new files are still created each month so far):
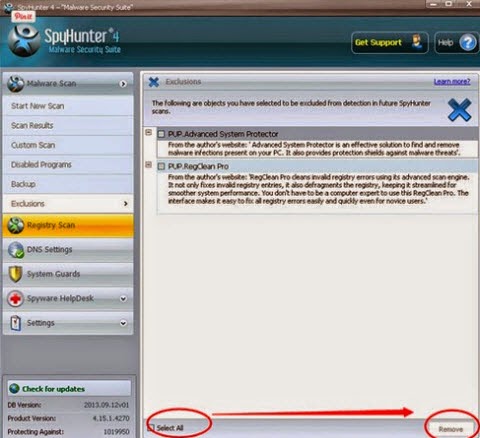
You can also use Anti-virus program to deal with this issue, and I think Spyhunter is the best one to choose.
Instruction:
1. Download Spyhunter inside;

2. Do a full scanning after Spyhunter been installed;
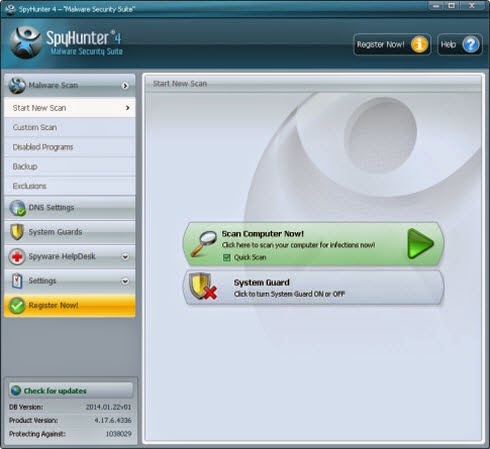
3. Select all threats found and remove it all.
Note: Manual removal of SearchNSave Ads is known as the most effective way. Anyway, it refers to key parts of computer system, and is recommended only for advanced users. If you have not sufficient expertise on doing that, you may face risk of damaging the computer. In this circumstance, downloading SpyHunter to automatically remove the virus for you will be a wise choice.
No comments:
Post a Comment